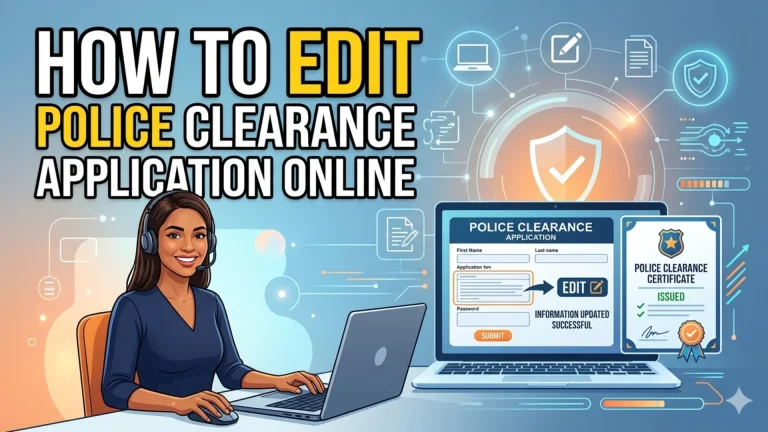
How to Pay Police Clearance Using GCash: Complete Step-by-Step Guide 2026
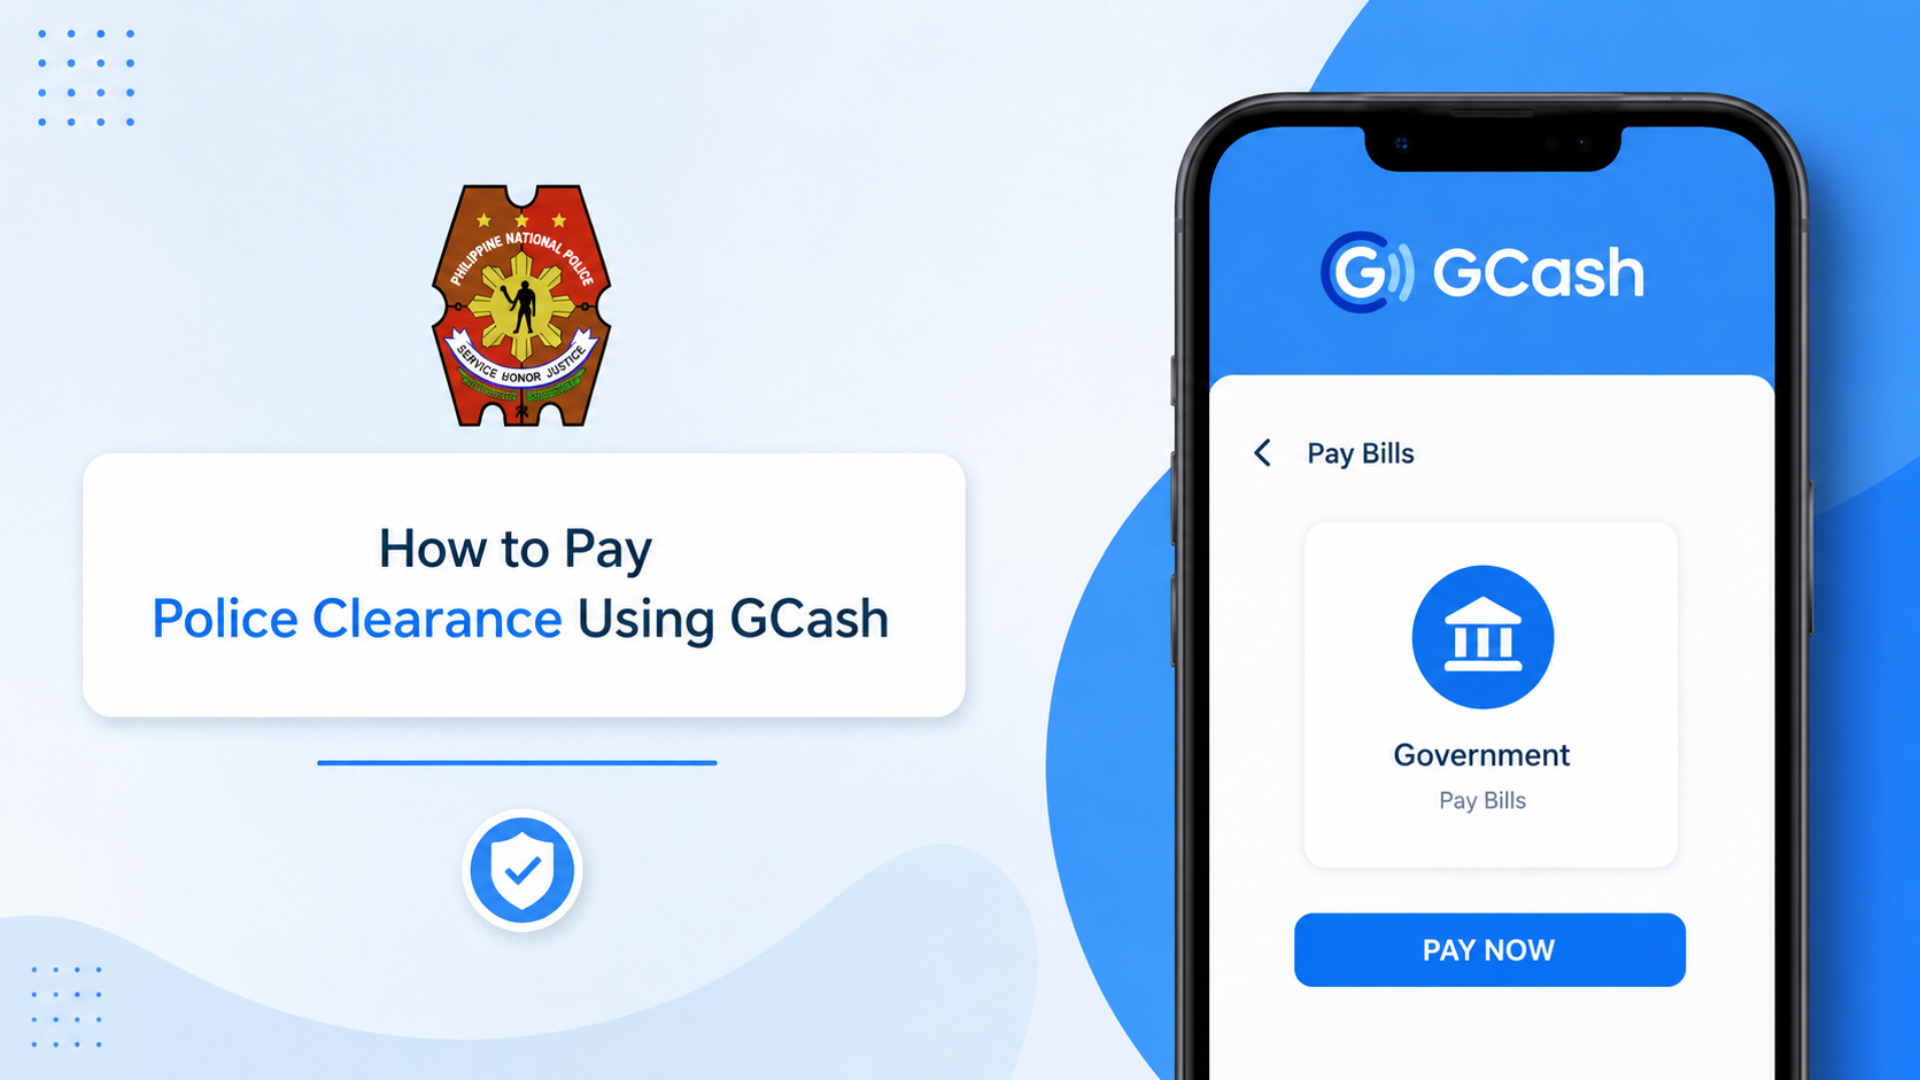
How to Pay Police Clearance Using GCash? Paying for your National Police Clearance has moved entirely online and if you have a GCash account, you are already most of the way there. The PNP no longer accepts over-the-counter payments at the station, which means completing the transaction through your phone is not just convenient, it is the only option.
The catch is that the payment flow is not as direct as most people expect. Instead of a simple GCash button, the system routes you through a specific gateway, and missing one step can leave your status stuck on “Pending” even after your money is deducted. This guide walks you through the entire process so that does not happen to you.
Why Pay Police Clearance Using GCash?
Before diving into the steps, it helps to understand why GCash has become the go-to choice for most Filipino applicants.
- Pay anytime, anywhere: no need to visit a branch or find a working kiosk
- Real-time transactions: payments reflect almost immediately after confirmation
- Instant digital proof: in-app receipt and SMS confirmation serve as valid documentation if the PNP portal glitches
- Trackable status: monitor your payment directly from your GCash transaction history and NPCS dashboard
- Accepted and encouraged: most police stations today recognize GCash receipts alongside your appointment confirmation
The shift away from traditional on-site payment removes every friction point that used to slow applicants down:
| Feature | Pay On-Site | Pay with GCash |
|---|---|---|
| Queue Time | Long | Short or none |
| Available 24/7 | No | Yes |
| Proof of Payment | Paper receipt | Screenshot + digital receipt |
| Error Correction | Manual only | Resolvable onlinw |
What is GCash and Why It’s Used for Police Clearance Payment
GCash is a mobile wallet that lets you send money, pay bills, and make purchases directly from your smartphone no bank account required. It is one of the most trusted digital payment platforms in the Philippines, accepted by government agencies, major businesses, and banks nationwide.
The Philippine National Police made a deliberate decision to partner with GCash and other online payment channels to reduce friction in the clearance process. Before this, applicants had to physically visit a payment center or bank, adding unnecessary steps to what should be a straightforward transaction.
Now the entire thing happens through your phone cashless, with receipts automatically generated the moment a payment clears, and every transaction properly recorded in the system. It significantly reduces long queues, cuts down on payment errors, and ensures your clearance status updates without requiring a follow-up visit in person.
Prerequisites Before Paying
Do not open the payment screen until everything below is in order. The payment link from the PNP portal is time-sensitive if it expires before you complete the transaction, you will need to restart the payment process entirely.
- A verified, funded GCash account: your wallet should carry at least ₱180 to cover the police clearance fee plus the convenience charge
- A stable internet connection: if your connection drops during the redirect from the PNP site to GCash, the transaction can hang
- An active NPCS appointment: register at pnpclearance.ph, fill out your profile, choose your preferred police station and date, and confirm your appointment reference before attempting payment
- Your reference number: generated by the system after submitting your appointment; this is the code that links your payment to your application
- Valid ID and requirements: not needed for payment itself, but having them ready avoids last-minute stress before your appointment date
Tip: Always screenshot or save every confirmation screen before heading out. Offline proof is more reliable than depending on the portal to load correctly at the station.
How to Pay Police Clearance Using GCash (Step-by-Step)
Follow these steps in sequence. Skipping ahead or refreshing at the wrong moment is the most common reason payments get stuck.
Step 1: Get Your Reference Number
Before you can make any payment, you must first generate a Reference Number. This number connects your payment to your Police Clearance application, so it is extremely important.
- Log in to your NPCS account by visiting the official website and signing in.
- Book your appointment by selecting your preferred police station, date, and time slot. Once you’ve made your selection, click “Next.”
- Choose a payment option.
- You will see a button labeled “Land Bank of the Philippines.” Click it to continue.
- Although you may be paying through GCash, all Police Clearance payments are processed through the Landbank payment gateway, which is the government’s authorized payment partner.
- Save your Reference Number.
- After proceeding, the system will generate a unique Reference Number.
- Take a screenshot or write it down immediately. You will need this number to complete your payment and track your transaction later.
Step 2: Access the Landbank Payment Portal
Once you have your Reference Number, you can continue with the payment process.
- Click “Pay to Landbank.”
- You will be redirected to the Landbank e-Payment Portal.
- Select your preferred payment method.
- Look for the GCash or G-Xchange option. Depending on system updates, the layout may vary slightly, but the GCash logo should be visible.
- Enter the required GCash information, including your registered mobile number. In some cases, you may be asked to log in securely to your GCash account through the payment portal.
Step 3: Complete Your GCash Payment
To finalize your transaction, follow these steps:
- Verify the OTP (One-Time Password).
- GCash will send a verification code to your registered mobile number.
- Enter the OTP on the payment page.
- Enter your GCash MPIN.
- Provide your 4-digit MPIN to authorize the payment.
- Review and confirm the payment.
- Check the total amount, including the Police Clearance fee and any applicable service charges.
- Click “Pay” to proceed.
- Wait for the confirmation page.
- Do not close your browser or refresh the page while the transaction is being processed.
- Once completed, you will be redirected back to the NPCS website, where a “Transaction Successful” message should appear.
After receiving the confirmation, your appointment and payment will be successfully recorded in the system, and you can proceed with your scheduled Police Clearance application.
Alternative Method: Using the GCash App Directly
If the portal redirect fails, you can attempt payment manually through the GCash app — though this method is less reliable and should be treated as a backup.
- Open the GCash App and log in
- Tap Bills Payment from the home screen
- Under the Government category, search for “National Police Clearance” or “NBI/Police Clearance”
- If the biller does not appear, return to the Landbank Portal method — the direct biller list changes frequently
- Enter your reference number, contact number, and the total amount due
- Swipe to confirm
Warning: The direct app method often fails because the biller name is inconsistently listed. The safest and most reliable route remains the Landbank link on the PNP website. Use this only when the portal redirect is broken.
How GCash Payments Work With Police Clearance Appointments
Once payment is made, the police station matches your transaction using three pieces of information:
| Data Point | Why It Matters |
|---|---|
| Reference Number | Links your payment to your specific appointment |
| Name on Payment | Must match your appointment record |
| Appointment Number | Confirms the booking is active and valid |
If your GCash payment does not reflect immediately on the portal or at the station, do not pay again. Present your payment screenshot alongside your appointment confirmation — most stations will accept this combination as valid proof and proceed without issue.
Police Clearance Payment Options (Fees & Charges)
Understanding the exact cost before loading your wallet prevents a failed transaction at the wrong moment.
| Fee Type | Amount |
|---|---|
| Police Clearance Official Fee | ₱150 |
| Convenience / Processing Fee | ₱10 – ₱30 |
| Total Payable via GCash | ₱160 – ₱180 |
- The ₱150 official fee goes directly to the National Treasury
- The convenience fee goes to the payment provider and varies by gateway
- Always check your local police station’s fees — costs can differ slightly by location
- Load at least ₱180 into your GCash wallet before starting to stay covered regardless of which provider handles the transaction
If GCash is unavailable due to system maintenance:
- 7-Eleven: select “Cash Payment” on the site, get your ref number, and pay at a CLiQQ kiosk
- Landbank ATM: available if you hold a Landbank account
- BancNet: covers other bank cards
How to Verify Police Clearance Fee Payment Status
After your online payment goes through, confirm the transaction status before your appointment date.
- Log in to the official PNP website using your registered email and password
- Open the Transactions tab on your dashboard
- Check the payment status next to your appointment details a successful payment will display “PAID”
- Check your email and SMS for an automatically sent confirmation message and digital receipt
- If nothing arrives, check your spam and promotions folder before assuming something went wrong
- Take a screenshot of the receipt or confirmation page and bring a printed copy to your appointment as proof
How to Change or Retry Payment Method (If GCash Fails)
A failed or interrupted GCash payment does not mean rebooking your appointment. The system lets you recover using your existing reference number.
- Log back in to the official NPCS site and open your Transactions tab
- Click “Retry Payment” or “Change Payment Method”
- Select an alternative from the available options:
- PayMaya
- LandBank
- 7-Eleven (over-the-counter)
- Use your existing reference number no need to reapply as long as it is still valid
- Complete the payment through your new method
Common Payment Issues and How to Fix Them
This is the section most people need after thinking everything went smoothly. Here is how to handle the most common problems:
| Problem | Likely Cause | Fix |
|---|---|---|
| Status still “Pending” | Network lag between GCash and Landbank | Wait 15–30 minutes, then refresh |
| Paid but portal not updated after 24 hours | System delay or closed browser too early | Email [email protected] or contact PNP ITMS Help Desk with receipts |
| Biller not found in app | Inconsistent biller listing | Select Government > Others, use reference code, or ask station for exact biller name |
| Reference doesn’t match | Typo or expired reference number | Show screenshot at station for manual verification |
| Amount incorrect | Wrong fee entered | Request reversal via GCash support, then re-pay with correct amount |
| Double payment / charged twice | System error | Contact GCash Help Center with both transaction receipts — refunds processed after verification |
| No receipt received | Confirmation email delayed or misfiled | Check spam and promotions folder; cross-check against GCash transaction history |
Important: Never double-pay. Refunds from government payment systems are slow to process. If you closed the browser before the redirect completed, bring your GCash SMS or Transaction History screenshot to the station — the officer has a “Verify Payment” option to manually override the status.
How to Pay National Police Clearance via Landbank
If you do not use GCash, the Landbank portal is the native payment option built directly into the NPCS system.
- On the payment screen, select “Landbank”
- Enter your Account Number, JAI, and PIN using the secure keypad
- The fee is deducted directly from your savings account
The receipt generated through this route carries the same validity as any other accepted payment method.
Benefits of Paying via GCash
| Benefit | What It Means for You |
|---|---|
| Fast and secure transaction | Payments process in real time with instant confirmation |
| No payment center visits | Settle fees anytime, anywhere using only your phone |
| Automatic reference number linking | Clearance status updates without manual follow-up |
| Digital receipts stored in-app | Proof of payment accessible at any time, never lost |
| Encryption-backed security | Payment information protected, fraud risk reduced |
| Immediate electronic receipt | Generated on successful payment, no paper required |
Other Options For Payment
GCash is not the only route the PNP accepts. Every method below generates a reference or confirmation receipt required for your police clearance appointment:
- 7-Eleven via CLiQQ kiosk
- Land Bank of the Philippines (LBP) ePayment Portal
- PayMaya
- Dragonpay
- Bayad Center Outlets
- Bayad Center Mobile App
- Bank Over the Counter — BDO, BPI, PNB, Chinabank, Metrobank, Security Bank, Union Bank
- Online Bank Payments
- ECPay
What to Bring to Your Appointment After Paying
- Valid ID (original)
- Appointment confirmation (printed or on your phone)
- GCash proof of payment (screenshot or printed copy)
- Pen for any on-site forms
- Photocopies as optional backups
Note: Most stations will not proceed without proof that payment was completed.
Useful Tips
- Pay early: settling the fee a few days before your appointment gives the system time to reflect the transaction and removes all payment-related stress on the actual day
- Use your full legal name: your GCash payment name must match your ID exactly to avoid confusion during verification at the station
- Save every screenshot: Wi-Fi at police stations is not always reliable; offline proof of your payment, appointment, and confirmation details keeps you covered even if the portal is slow or unresponsive
Final Steps After Payment
- Log in to your NPCS account and download both your application form and receipt
- Keep printed copies of both documents
- Prepare at least two government-issued IDs to present alongside your payment proof
- Double-check that the reference number on your printed receipt matches the one in your clearance record a mismatch at the counter causes delays that are entirely avoidable with one quick check beforehand
Frequently Asked Questions
Conclusion
Paying for your National Police Clearance through GCash is a fast, secure, and convenient way to complete your application. By following the correct payment process, saving your reference number, and keeping proof of payment, you can avoid common issues and ensure a smooth appointment experience. Always verify your payment status before your scheduled visit.